調子こいてRTX3080を買ってしまったので、Apexだけじゃなくて機械学習もちゃんとやろうと思い、環境構築しました。
Contents
WSL2のインストール
Hyper-Vの有効化
管理者権限でPowerShellを起動し、下記コマンドを実行
# 「Hyper-V」の有効化
dism.exe /online /enable-feature /featurename:Microsoft-Hyper-V-All /all /norestart

# 「Windows Subsystem for Linux」の有効化
dism.exe /online /enable-feature /featurename:Microsoft-Windows-Subsystem-Linux /all /norestart

# 「仮想マシンプラットフォームのオプションコンポーネント」を有効化
dism.exe /online /enable-feature /featurename:VirtualMachinePlatform /all /norestart
コマンド実行後、設定を反映するためにWindowsを再起動。
デフォルトをWSL2に変更
再起動後、WSL2をデフォルトで使用するために下記コマンドを実行。
wsl --set-default-version 2
WSL2 Linuxカーネルのインストール
Windows 10 用 Windows Subsystem for Linux のインストール ガイドのページから「x64 マシン用 WSL2 Linux カーネル更新プログラム パッケージ」をダウンロード・インストールする。
この手順を忘れると以下のようなエラーが出る
Installing, this may take a few minutes...
WslRegisterDistribution failed with error: 0x800701bc
Error: 0x800701bc WSL 2 requires an update to its kernel component. For information please visit https://aka.ms/wsl2kernel
Ubuntuのインストール
Microsoft StoreアプリからUbuntu20.04をダウンロードする。
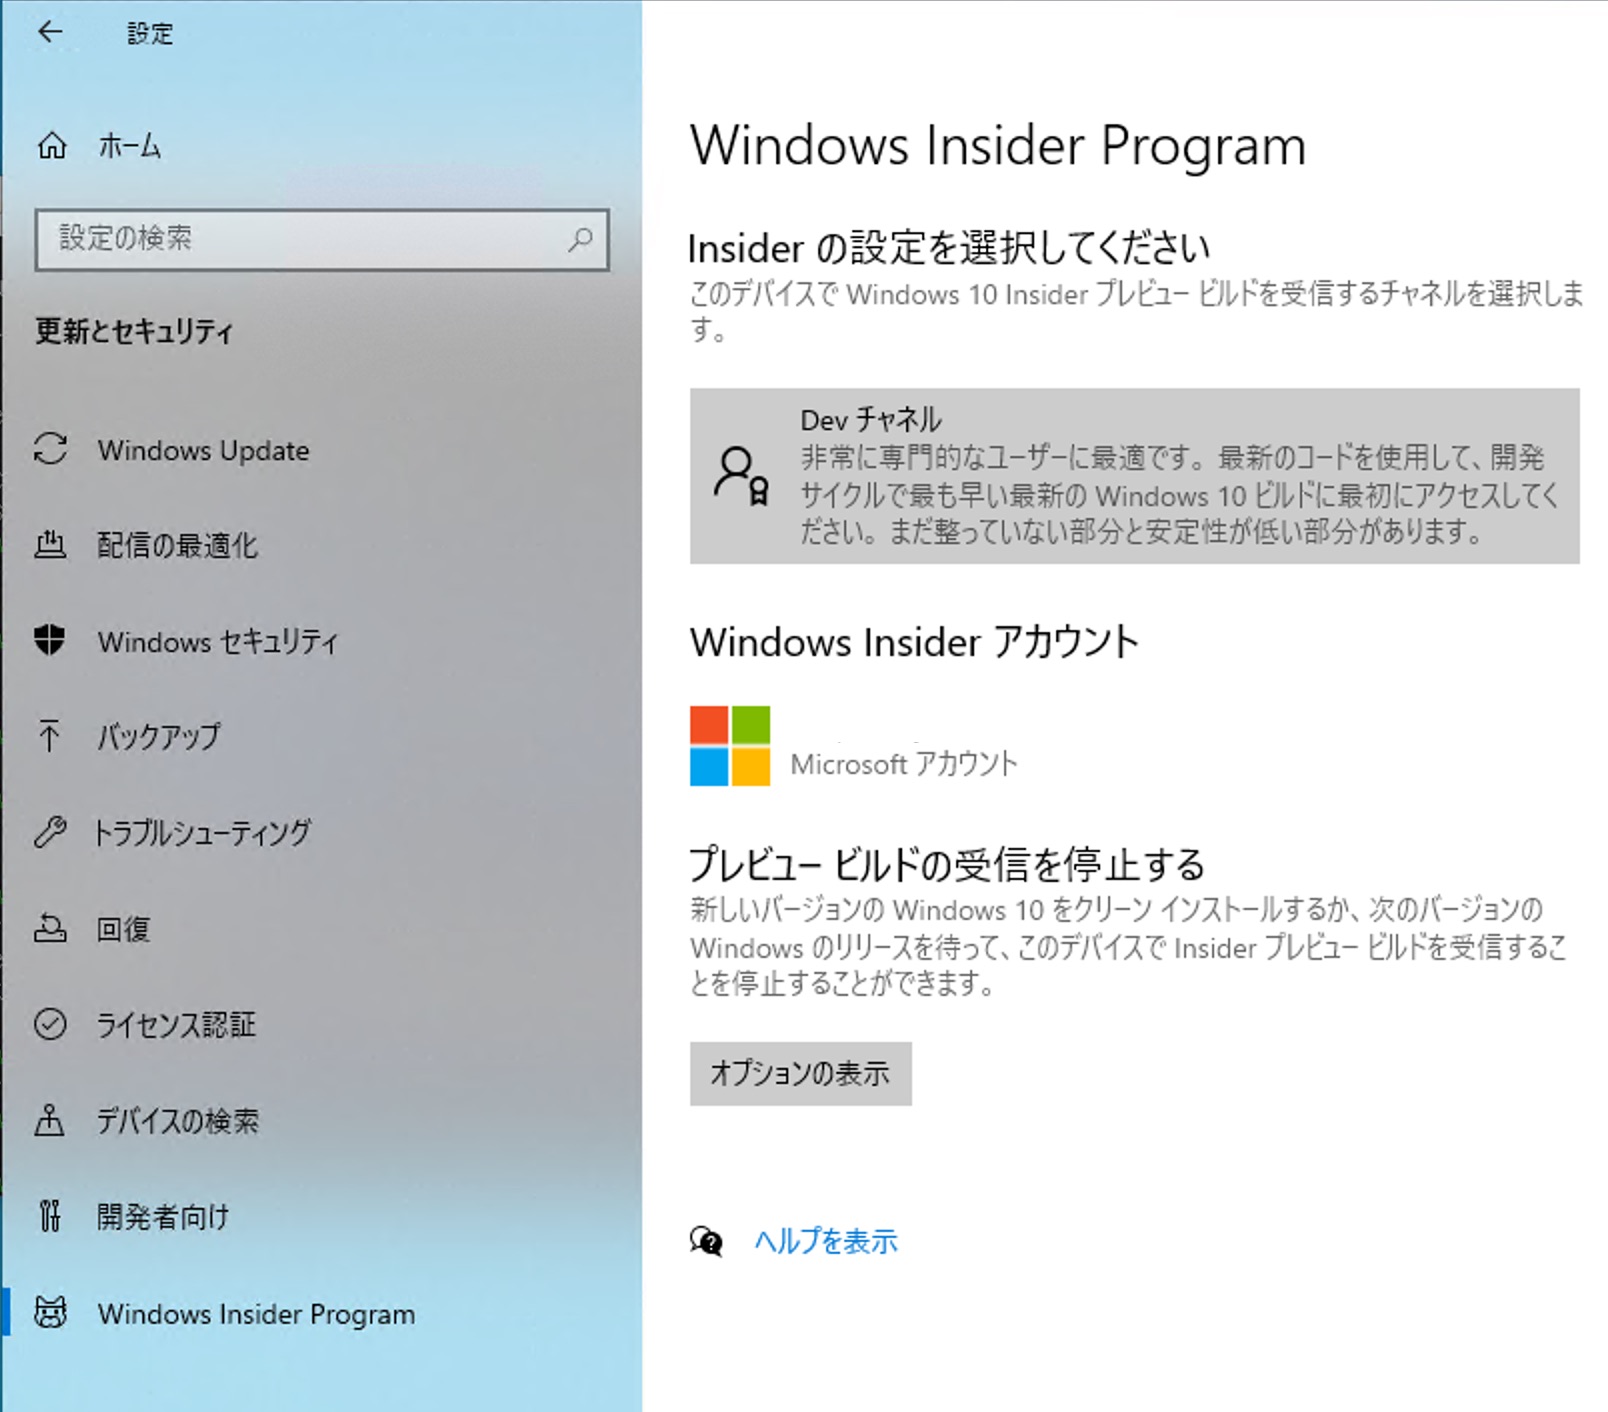
Windows Insider Programの設定
設定→更新とセキュリティ→Windows Insider Programを開き、Devチャネルへ参加するように設定。
※2020年12月18日時点では、この操作はまだ必要でした。
CUDA Driverのインストール
CUDA on Windows Subsystem for Linux (WSL) – Public PreviewのページからCUDA Driverをダウンロード・インストールする。
※要ユーザ登録
WSLのバージョンの確認
WSL2が正しく使用されているかを確認するため、PowerShellから下記コマンドを実行する。
wsl -l -v
Ubuntu-20.04の欄のVERSIONが2と表示されていれば、WSL2が使用されている。
WSL2上での設定
Ubuntuホストでの設定
sudo apt update
sudo apt upgrade

# Install docker
curl https://get.docker.com | sh
sudo usermod -aG docker $USER

# sudoなしでdockerコマンド使えるように
sudo gpasswd -a $USER docker

# Install nvidia-container-toolkit
# ref: https://qiita.com/Hiroaki-K4/items/c1be8adba18b9f0b4cef
distribution=$(. /etc/os-release;echo $ID$VERSION_ID)
curl -s -L https://nvidia.github.io/nvidia-docker/gpgkey | sudo apt-key add -
curl -s -L https://nvidia.github.io/nvidia-docker/$distribution/nvidia-docker.list | sudo tee /etc/apt/sources.list.d/nvidia-docker.list

sudo apt-get update && sudo apt-get install -y nvidia-container-toolkit

sudo service docker restart
動作確認
sudo service docker start
docker run --gpus all nvcr.io/nvidia/k8s/cuda-sample:nbody nbody -gpu -benchmark
結果
Run "nbody -benchmark [-numbodies=<numBodies>]" to measure performance.
        -fullscreen       (run n-body simulation in fullscreen mode)
        -fp64             (use double precision floating point values for simulation)
        -hostmem          (stores simulation data in host memory)
        -benchmark        (run benchmark to measure performance)
        -numbodies=<N>    (number of bodies (>= 1) to run in simulation)
        -device=<d>       (where d=0,1,2.... for the CUDA device to use)
        -numdevices=<i>   (where i=(number of CUDA devices > 0) to use for simulation)
        -compare          (compares simulation results running once on the default GPU and once on the CPU)
        -cpu              (run n-body simulation on the CPU)
        -tipsy=<file.bin> (load a tipsy model file for simulation)

NOTE: The CUDA Samples are not meant for performance measurements. Results may vary when GPU Boost is enabled.

> Windowed mode
> Simulation data stored in video memory
> Single precision floating point simulation
> 1 Devices used for simulation
MapSMtoCores for SM 8.6 is undefined.  Default to use 64 Cores/SM
GPU Device 0: "GeForce RTX 3080" with compute capability 8.6

> Compute 8.6 CUDA device: [GeForce RTX 3080]
69632 bodies, total time for 10 iterations: 75.221 ms
= 644.583 billion interactions per second
= 12891.655 single-precision GFLOP/s at 20 flops per interaction
使用するコンテナはNGC(nVIDIA GPU Cloud)に用意されている、CUDAインストール済みのコンテナ(nvcr.io/nvidia/cuda)を推奨する。
CUDA11.1のコンテナを動かそうとしたら「Win側のCUDAが古いからダメ」と言われてしまったので、筆者はUbuntu20.04 + CUDA11.0を使用している。
おまけ
Dockerのホスト側でCUDAを使う
dockerのホストとなるUbuntu20.04でCUDAを使用したい場合は、WSL2用のCUDA Toolkitをダウンロード・インストールする。
# Install CUDA Toolkit
# https://developer.nvidia.com/cuda-downloads?target_os=Linux&target_arch=x86_64&target_distro=WSLUbuntu&target_version=20&target_type=debnetwork

wget https://developer.download.nvidia.com/compute/cuda/repos/wsl-ubuntu/x86_64/cuda-wsl-ubuntu.pin
sudo mv cuda-wsl-ubuntu.pin /etc/apt/preferences.d/cuda-repository-pin-600
sudo apt-key adv --fetch-keys https://developer.download.nvidia.com/compute/cuda/repos/wsl-ubuntu/x86_64/7fa2af80.pub
sudo add-apt-repository "deb https://developer.download.nvidia.com/compute/cuda/repos/wsl-ubuntu/x86_64/ /"
sudo apt-get update
sudo apt-get -y install cuda
echo 'export PATH=/usr/local/cuda/bin:${PATH}' >> ~/.bashrc
echo 'export LD_LIBRARY_PATH=/usr/local/cuda/lib64:${LD_LIBRARY_PATH}' >> ~/.bashrc
SSHでアクセスできるようにする
外部のPCからSSHでアクセスするには、WindowsからWSLのUbuntuマシンにポートフォワーディングしてやる必要がある。
ポートフォワーディングの設定とWindows側のファイアーウォール(Windows Defender等)でポートをOpenにする必要がある。
ただし、WSL側のIPアドレスが起動する毎に変わるため、いい感じにスクリプトで対応する必要があるらしい。
以下の記事を参考に設定した。
コンテナ内のJupyterLabを使う
SSHと同様に、ポートフォワーディングを設定してやればJupyterLabにもアクセス可能。
WSLのlocalhost:8888を8888に転送するように指定。さらにコンテナ内の8888をWSLの8888に転送するように多段でフォワーディングすることにより、Windows側のブラウザでhttp:localhost:8888にアクセスすればJupyterLabが使える。
NGCのPyTorchコンテナに含まれているJupyterLabにアクセスできるようにするには、docker runは以下のようなコマンドで実行すれば良い。
docker run --gpus all --rm --network host -p 8888:8888 -it nvcr.io/nvidia/pytorch:20.12-py3 jupyter-notebook --no-browser --allow-root --NotebookApp.token=''
VSCodeでリモートから開発
MacからSSHで繋げるようにしたら、VSCodeからDockerを弄れるようにしたくなるので以下を参考に設定。
# 接続できるか確認(ユーザ名@IPアドレスで指定)
docker -H ssh://user@remote-host ps

# リモートの登録
docker context create remote --docker 'host=ssh://user@remote-host'
docker context use remote
docker ps
ref
- 待ってました CUDA on WSL 2 -Qiita
- WSL2,docker,Cudaで比較的ハマらないメモ – Qiita
- WslRegisterDistribution failed with error: 0x800701bc – Qiita

ロボットと電子工作とプログラミング!
女の子は甘いもので出来てる?